
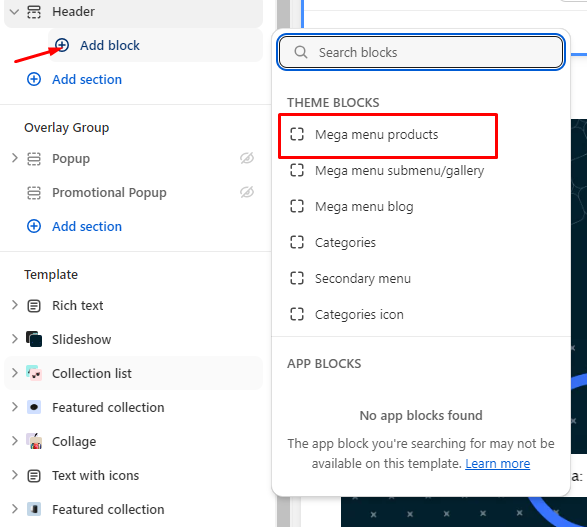


| Block | Description |
|---|---|
| Secondary menu | Secondary menu The secondary menu will not show when the 'Logo center, menu left' setting is enabled. This menu will not show dropdown items. |
.png?alt=media&token=a72f9d21-1f05-40f3-8a0d-def3f9e0ca61)
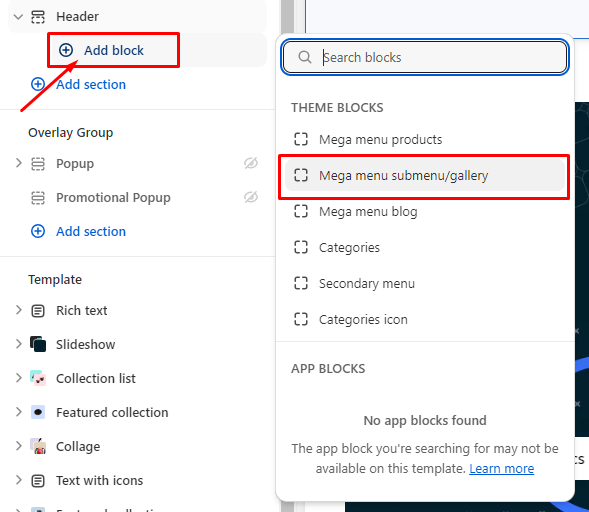
| Block | Description |
|---|---|
| Category menu | Category menu The Category menu will show when add block 'Category menu'. This menu will shown one another menu with dropdown items and megamenu. |
| Menu button style | Customization of menu button style in the category menu is as follows:
|
| Dropdown open on | Customization of dropdown open on in the category menu is as follows:
|
.png?alt=media&token=e534bb93-053d-41a9-926d-fb3aa1a99472)
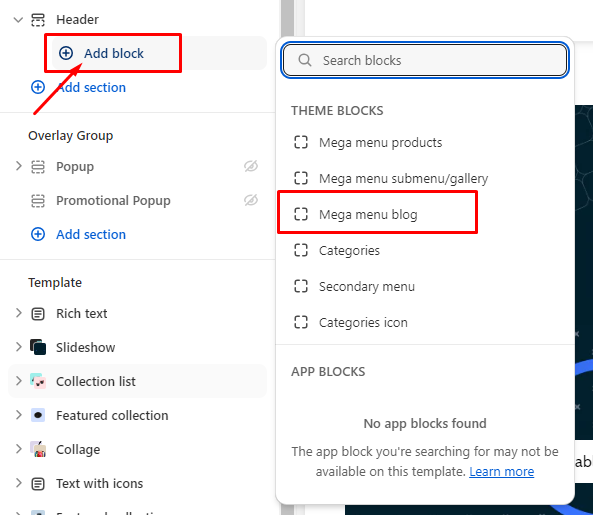
| Block | Description |
|---|---|
| Category icon | Category icon The Category menu will show when add block 'Category icon'. This icon will show as a menu icon in category menu. |
| Icon | In the section, the icons are given to select. are for selecting:
|
| Image | You can customize the image in the menu link by adding a custom image in its place. |
| svg | You can customize the icon in the menu link by adding a custom svg code in its place. |